Image compare
viewerA modern, lightweight comparison slider
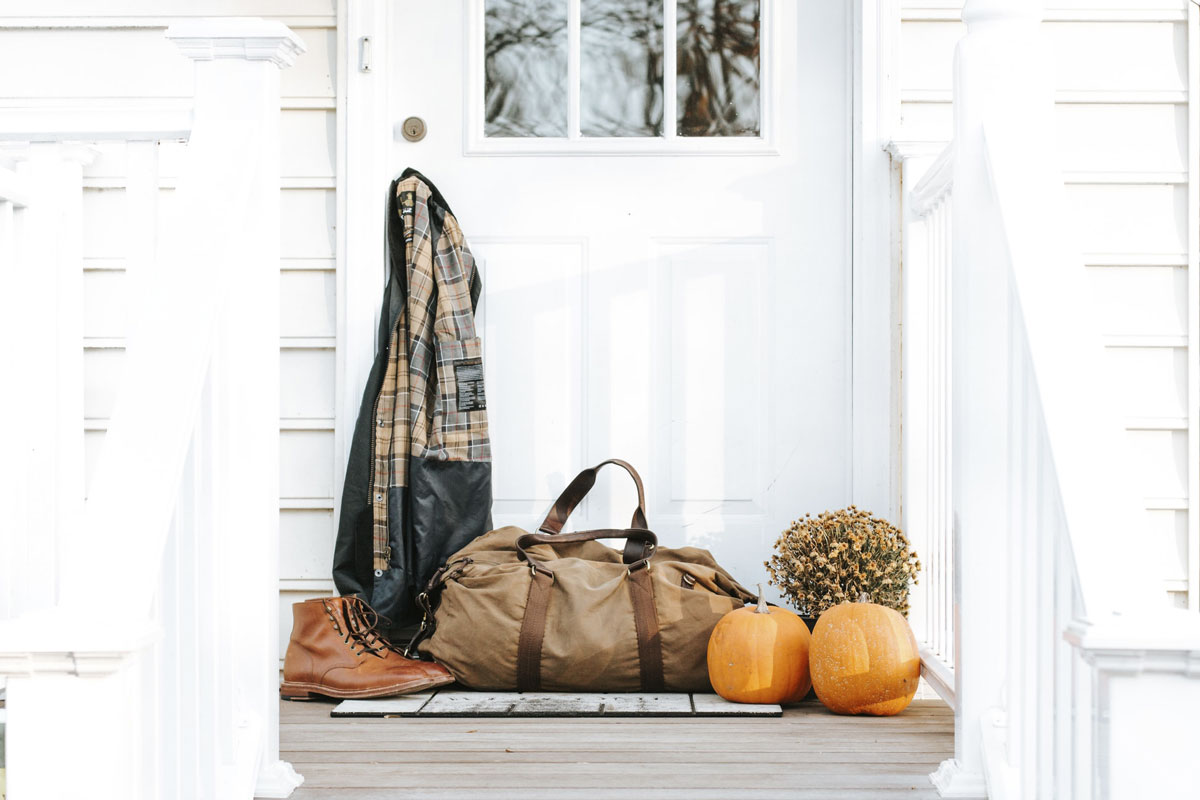
Compare before and after images, for grading, CGI and other retouching comparisons. Vanilla Javascript.
npm install image-compare-viewer
Also available via CDN
JavaScript https://unpkg.com/image-compare-viewer/dist/image-compare-viewer.min.js
CSS https://unpkg.com/image-compare-viewer/dist/image-compare-viewer.min.css
Using WordPress?
Here's a ready-to-use WordPress plugin
Great customization options


How to use
HTML
Image Compare Viewer is easy to use. The HTML is as simple as adding two images into a containing parent. The parent will need an ID or class name (handy for multiple viewers on a single page).
<div id="image-compare">
  <img src="path/to/before.jpg" alt="" />
  <img src="path/to/after.jpg" alt="" />
</div>
CSS
If you're using NPM, the CSS is found at "node_modules/image-compare-viewer/src/styles/index.scss" or "node_modules/image-compare-viewer/dist/image-compare-viewer.min.css"
Javascript
Importing
import ImageCompare from "image-compare-viewer";A single viewer?
1. Reference > 2. Mount...
const element = document.getElementById("image-compare");

const viewer = new ImageCompare(element).mount();
Multiple viewers?
1. Collect > 2. Loop > 3. Mount...
const viewers = document.querySelectorAll(".image-compare");

viewers.forEach((element) => {
  let view = new ImageCompare(element).mount();
});
Options
The options object below shows the defaults of all options. All options are used in the examples.
...

const options = {

  // UI Theme Defaults

  controlColor: "#FFFFFF",
  controlShadow: true,
  addCircle: false,
  addCircleBlur: true,

  // Label Defaults

  showLabels: false,
  labelOptions: {
    before: 'Before',
    after: 'After',
    onHover: false
  },

  // Smoothing

  smoothing: true,
  smoothingAmount: 100,

  // Other options

  hoverStart: false,
  verticalMode: false,
  startingPoint: 50,
  fluidMode: false
};

// Add your options object as the second argument
const viewer = new ImageCompare(element, options).mount();
Examples
Default


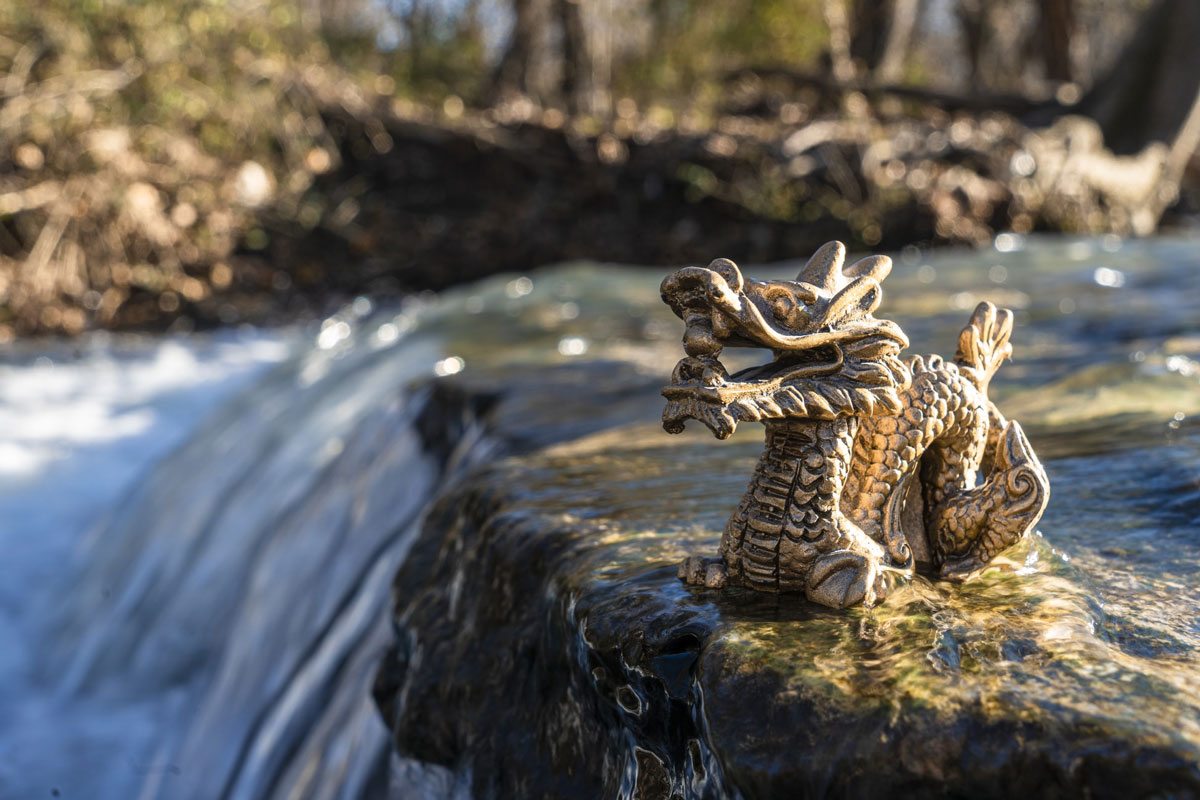
UI Theme options
{
  controlColor: "#73c781",
  controlShadow: false,
  addCircle: true,
  addCircleBlur: true // default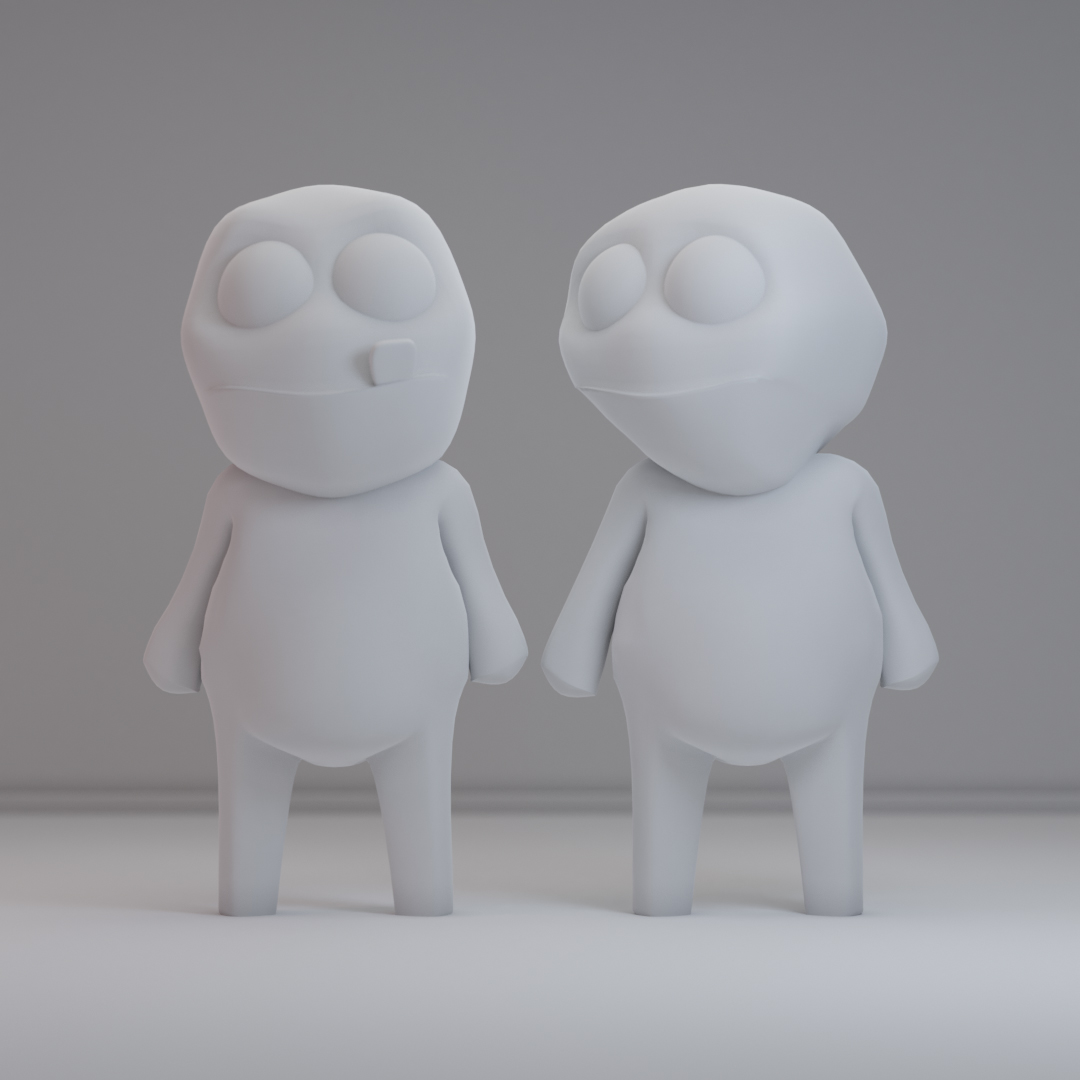
}Two Bears
– Just add .keep class to keep elements inside –

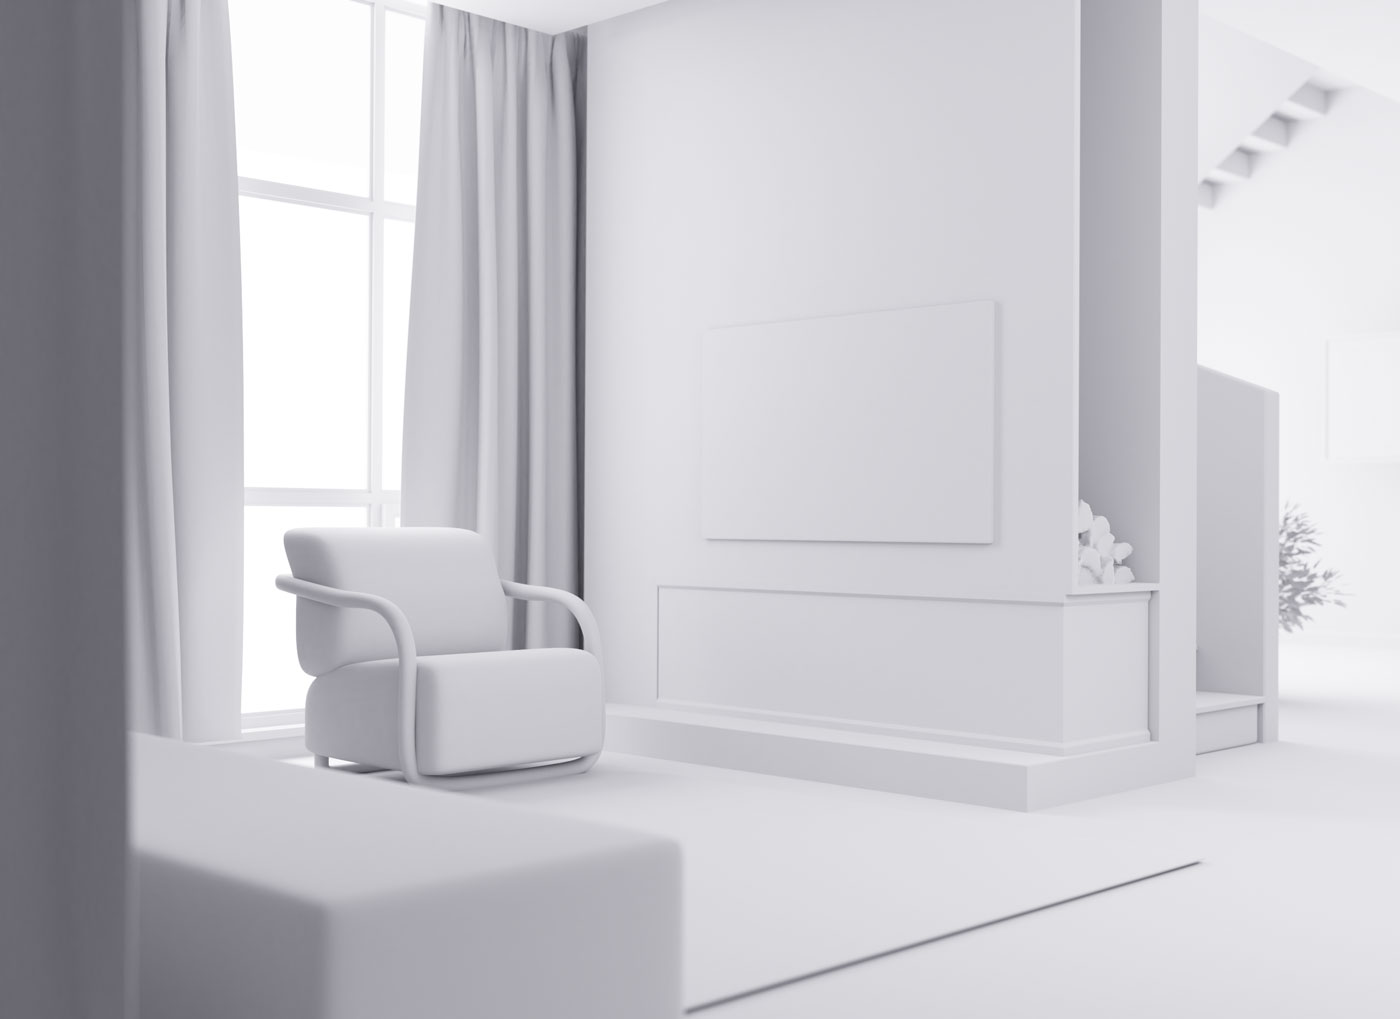
Labels
{
showLabels: true,
labelOptions: {
  before: 'Clay',
  after: 'Final render',
  onHover: false // default
}
Disable Smoothing
Smoothing is automatically disabled on touch enabled screens.
{
  smoothing: false
}

Increase Smoothing
Milliseconds – a higher number means more dampening
{
  smoothingAmount: 300
}
Start on hover
Clicking will activate manual control.
{
  hoverStart: true
}

Vertical Mode
{
  verticalMode: true
}

Starting Point
The percentage to show of the before image.
{
  startingPoint: 75
}

Fluid mode
Fluid mode enables the container to have fluid height and width, independent of each other, useful for using Image Compare Viewer in a full screen container for instance. The image is dynamically cropped using the CSS background 'cover' property.
{
  fluidMode: true
}
While by default a viewers height is set by the image, you must set your own height when using fluid mode.
/* Example */
#image-compare {
  width: 100%;
  height: 66vh;
}